
The Great Garden Thaw: Flowers Unfurling, Pests Emerging—Your Low-Effort Survival Guide
October 23, 2025
DIY Bird Feeder Ideas: Attract Helpers for a Low-Maintenance Green Haven
November 6, 2025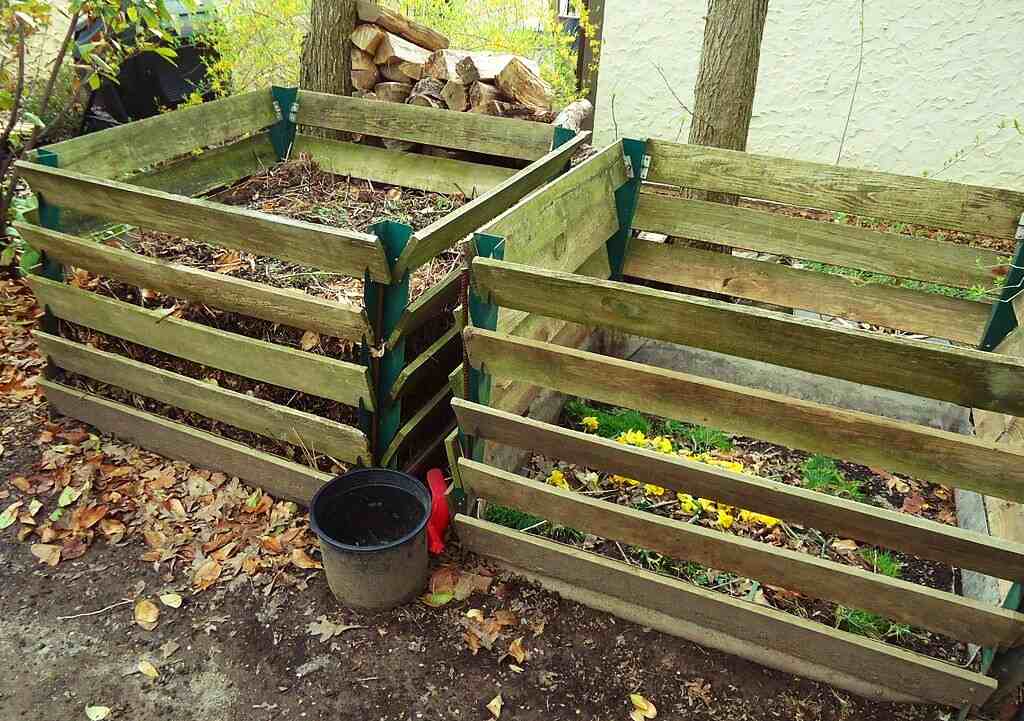
Our quick DIY compost bin is one of the easiest ways to recycle garden waste while improving soil health. It keeps your outdoor space tidy, turns clippings into rich compost, and supports sustainable nutrient cycles that reduce overgrowth and the need for constant pruning. With a few wooden pallets and some basic tools, you can build a bin that fits any garden corner in under an hour.
Choosing and Preparing Your Pallets
Start by collecting four sturdy wooden pallets—heat-treated and chemical-free. Avoid those stamped with “MB,” which indicates methyl bromide treatment. Clean them with a stiff brush to remove dirt and debris. If possible, sand down any splinters or rough edges for safer handling. You’ll use three pallets for the sides and one as a front gate or removable panel for easy compost turning.
Assembling the Frame
Stand three pallets upright to form a U-shape. Secure them together using long screws or strong zip ties, depending on what tools you have. The open side allows airflow and access for adding material. If you prefer a more enclosed design, add the fourth pallet as a hinged or removable front. This makes it simple to aerate the compost or remove finished humus when it’s ready.
Layering and Loading the Compost Bin
To start the composting process, layer green and brown materials. Greens include kitchen scraps, grass clippings, and plant trimmings—rich in nitrogen. Browns include dry leaves, shredded paper, and small branches—rich in carbon. Alternate these layers, keeping the pile moist but not soggy. Turning the compost every two weeks speeds decomposition and prevents odor buildup.
Maintaining the Right Balance
Temperature, moisture, and aeration are the keys to healthy compost. If the pile smells sour, add more brown material. If it’s too dry, sprinkle water lightly. The mix should feel like a damp sponge. Microbes break down organic matter into humus, releasing nutrients that feed your plants naturally. This quick DIY compost bin can produce garden-ready compost in as little as six to eight weeks.
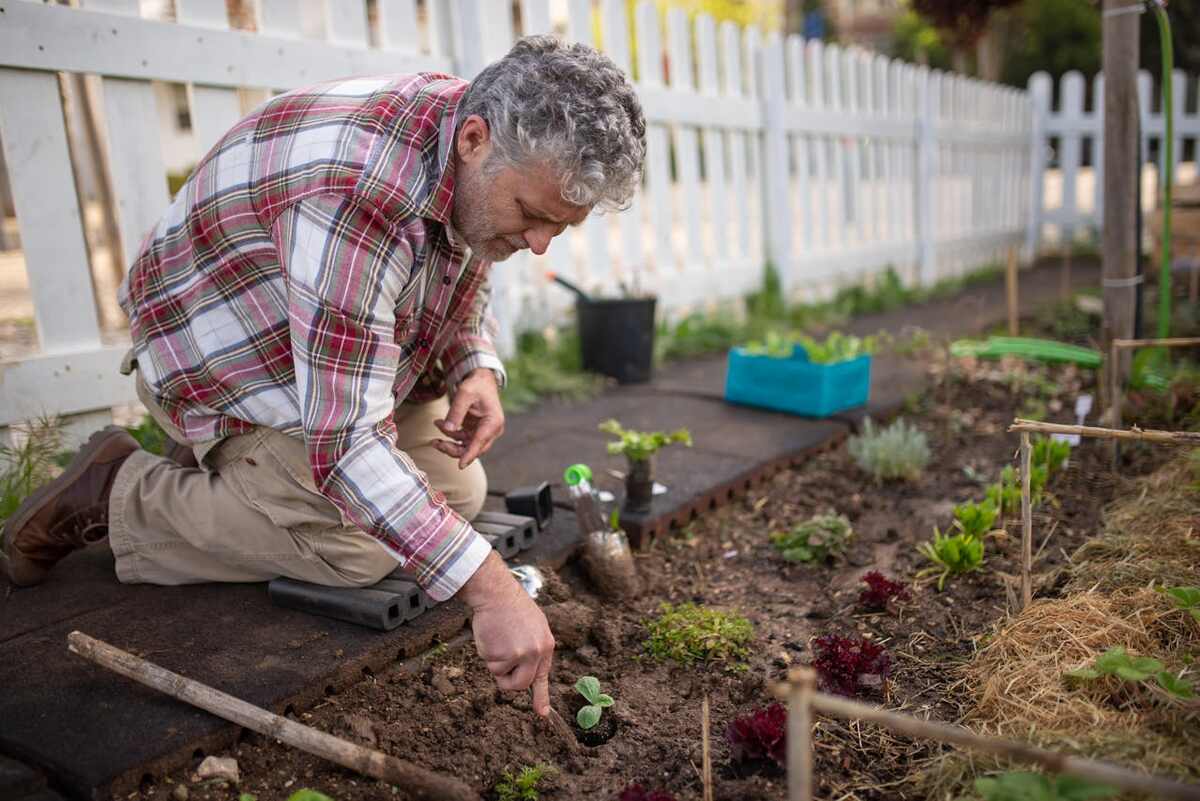
Using Your Finished Compost
Once the compost turns dark, crumbly, and earthy-smelling, it’s ready to use. Spread it around flower beds, vegetable gardens, or potted plants. The nutrients improve soil structure, retain moisture, and reduce the need for synthetic fertilizers. Over time, you’ll notice fewer weeds, healthier roots, and less pruning required to maintain balance in your garden.